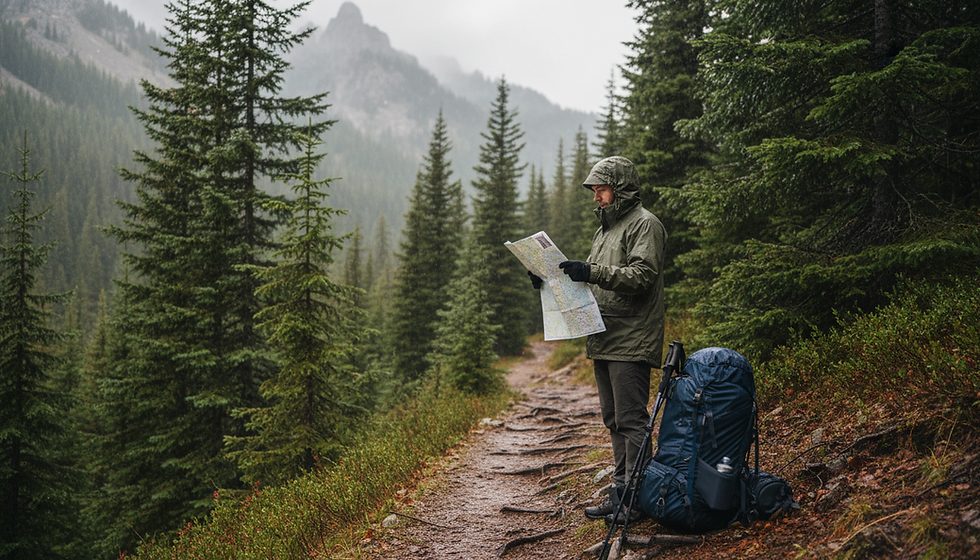
Five Common Hiking Mistakes and How to Avoid Them

A great hike can turn uncomfortable fast. One missed forecast, one wrong pair of shoes, or one empty water bottle can shift the day from memorable to miserable.
Most trail problems do not start with dramatic mistakes. They start with small assumptions. The trail looks short. The weather looks fine. The phone has a map. The new boots seem broken in enough. Any one of those choices might work on an easy stroll near town. On a longer trail, with heat, elevation, rough footing, or spotty cell service, they can create real trouble.
The good news is that the most common hiking mistakes are also easy to prevent. A little planning protects your energy, your feet, your schedule, and your ability to get home safely.

1. Not carrying enough water and electrolytes
Water is one of the easiest things to underestimate. A cool morning can turn hot by midday. A shaded trail can open into full sun. A short hike can take longer than planned if the terrain is steep, muddy, rocky, or crowded.
Thirst is not the only sign that you are falling behind. Low energy, headache, dizziness, muscle cramps, and poor decision-making can all show up when your body needs more fluid or salt. On a hike, that matters because every choice gets harder when you are tired.
The common mistake is packing for the distance on paper instead of the conditions on the ground. Two miles on a flat path in mild weather is not the same as two miles of exposed switchbacks in summer heat.
A practical rule is to bring more water than you think you will need, then adjust based on the hike. Consider:
Temperature Hot, dry, or humid weather increases fluid needs.
Elevation gain Climbing makes the body work harder, even over a short distance.
Trail exposure Full sun can drain energy faster than shaded forest.
Personal needs Body size, fitness level, pace, and medical factors all affect hydration.
Time buffer Carry enough for delays, wrong turns, rests, or helping someone else.
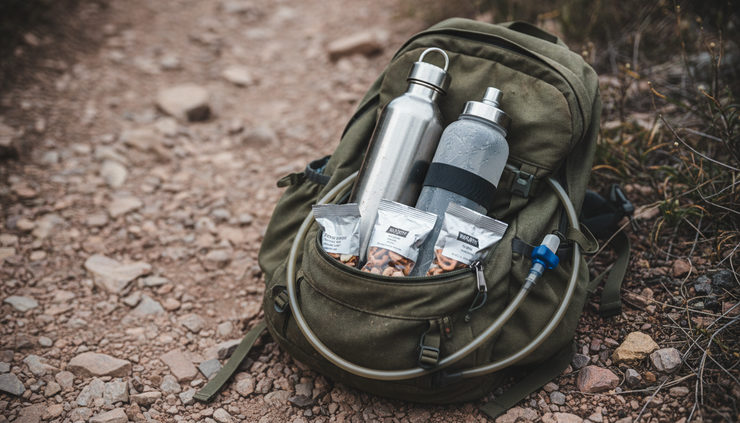
For many day hikes, a hydration bladder or multiple bottles work better than one small bottle clipped to a pack. If you are hiking in remote areas, a water filter or purification tablets can add a safety margin, but do not count on natural water unless you know it is available.
Electrolytes matter too, especially on warm days or longer hikes. Plain water is essential, but replacing sodium and other minerals can help when you sweat for hours. Pack electrolyte tablets, powder packets, or salty snacks. You do not need to overcomplicate it. A few easy options include pretzels, trail mix, jerky, crackers, or electrolyte drink mix.
A smart hydration plan looks like this:
Drink before you start, not only after you feel thirsty.
Sip regularly instead of chugging at long intervals.
Keep one bottle easy to reach.
Save a reserve for the final stretch.
Bring electrolytes when heat, distance, or hard climbing are part of the day.
The goal is not to carry your whole kitchen. It is to avoid running dry when the trail still expects more from you.
2. Wearing poor footwear
Footwear can make or break a hike. A trail can be beautiful, but if your shoes rub, slip, or fail to support your feet, the scenery quickly takes a back seat to pain.
Poor footwear does not always mean cheap footwear. Sometimes the problem is fit. Sometimes the shoes are right for the gym but wrong for loose gravel. Sometimes brand-new boots look sturdy but have not been worn enough to reveal hot spots. Sometimes old hiking shoes have lost their tread, and the soles no longer grip rock or dirt well.
The best footwear depends on the trail and the hiker. Trail runners work well for many people on maintained paths and lighter day hikes. Hiking shoes or boots can add support and protection on rougher terrain, wet ground, or backpacking trips. The key is matching footwear to the route, conditions, and your feet.
Before a hike, check these basics:
Fit Toes should have room, especially on descents. Heel lift should be minimal.
Grip Look at the tread. Smooth soles slide more easily on dirt, rock, mud, and wet roots.
Break-in time Wear new shoes on shorter walks before using them on a long hike.
Socks Choose moisture-wicking hiking socks. Cotton socks tend to hold sweat and can increase rubbing.
Lacing Learn simple lacing adjustments. A heel lock can reduce slipping. Looser forefoot lacing can help if feet swell.
Blisters often start as small hot spots. Stop early if you feel rubbing. It is much easier to cover a hot spot with moleskin, tape, or a blister bandage than to manage a painful blister miles from the trailhead.
Pack a small foot-care kit for day hikes. It does not need to be large. A few blister bandages, a strip of athletic tape, and a safety pin can take up almost no room and save the day.
Also think about what happens after weather changes. Waterproof boots can help in certain conditions, but they can also feel hot and slow to dry if water gets inside. Breathable trail shoes may dry faster but offer less protection in cold or wet settings. There is no perfect answer for every trail. The best answer is the one that fits the day’s route.
Good footwear is not about buying the heaviest boot. It is about choosing shoes that let you hike with stable footing and healthy feet from start to finish.
3. Heading out with no primary or backup navigation tools
Phones are useful. Hiking apps are useful. GPS is useful. None of them should be your only plan.
Batteries die. Phones get dropped. Cold weather drains power. Tree cover, canyons, and remote areas can disrupt reception. Downloaded maps help, but they still depend on a working device. If your only navigation tool fails, a simple trail junction can become stressful.
A good navigation setup has a primary tool and a backup. For many hikers, the primary tool is a phone app with offline maps. A backup might be a paper map and compass, a second charged device, or a dedicated GPS unit. The right mix depends on where you are hiking, but the principle stays the same: do not rely on a single point of failure.
Before the hike, do more than glance at the route. Study it enough to know the big picture:
Where the trail starts
Where major junctions appear
Which landmarks should show up along the way
How much elevation gain to expect
Where water, roads, or bail-out points might be
What direction you should generally be moving
What is your panic plan when everything goes wrong
Screenshots can help too. Save the trail map, parking area, route description, and any permit or pass information before you lose service.
A paper map does not help if it stays buried at the bottom of a pack and nobody knows how to read it. Spend a little time learning basic map skills. You should be able to orient the map, identify the trail, read contour lines in a basic way, and match landmarks around you to what the map shows.
A compass is light, affordable, and reliable, but only useful if you practice before you need it. You do not have to become a navigation expert for every casual hike. You do need enough skill to keep a confusing moment from becoming a dangerous one.
If you lose the trail, resist the urge to keep walking “just a little farther.” Stop. Check your map. Look behind you. Many trails are easier to recognize in reverse. If you are with others, talk through the route calmly. Wandering while frustrated usually makes the problem worse.
The safest time to solve a navigation problem is the moment you notice it, not after another mile of guessing.
Share your plan with someone who is not on the hike. Tell them the trail name, where you plan to park, your expected return time, and when they should become concerned. That small habit gives you a safety net if something goes wrong.

4. Starting too late
A late start can seem harmless. Sleeping in feels nice. The trail is only a few miles. The forecast looks fine. Then parking takes longer than expected, the climb is steeper than it looked online, and the sun drops behind the ridge before the hike is over.
Starting too late creates pressure. You rush. You skip breaks. You make faster decisions. You may push past turnaround times because the summit or viewpoint feels close. As daylight fades, small mistakes become harder to fix.
This mistake shows up often in fall and winter, when daylight is shorter. It also happens on popular trails where full parking lots force hikers to start later than planned. In mountain areas, afternoon storms can be another reason to start early, especially in summer.
Plan your start time from the end of the hike, not the beginning. Ask yourself when you want to be back at the trailhead, then work backward.
Build your timing around:
Distance
Elevation gain
Trail difficulty
Group pace
Weather
Breaks
Parking and shuttle time
Daylight hours
A safety buffer
Many hikers plan around a best-case pace, but trails rarely care about best-case plans. Mud, snow, heat, creek crossings, route-finding, photo stops, and tired legs all add time.
Set a turnaround time before you start. A turnaround time is the latest time you will turn back, even if you have not reached the destination. This is especially useful for summit hikes, waterfall hikes, and out-and-back routes. The rule only works if you respect it.
Bring a headlamp, even on day hikes. A phone flashlight is not a proper replacement. It drains the battery you may need for navigation or communication, and it is awkward to hold while using trekking poles or scrambling over rocks. A small headlamp weighs little and gives you both hands free. That little light may make the difference in being found now or the next day by SAR.
Also check sunset time, not just the weather. In canyons, forests, and mountains, usable light can fade earlier than the official sunset. If the hike includes rough footing, steep descents, or confusing junctions, give yourself even more room.
An early start does more than protect daylight. It often means cooler temperatures, easier parking, quieter trails, and less pressure. That makes the hike safer and more enjoyable.
5. Not checking or ignoring weather forecasts
Weather is one of the strongest forces on any hike, and one of the easiest to dismiss. A forecast that says “chance of showers” might sound minor at home. On an exposed ridge, it can mean slick rock, poor visibility, wind, and a longer trip back than expected.
Checking the weather once is not enough for many hikes. Forecasts change. Mountain weather can shift quickly. Desert heat can intensify. Coastal fog can reduce visibility. Thunderstorms can build in the afternoon, even when the morning sky looks clear.
Check the forecast when you plan the hike, then check again the night before and the morning of the hike. Look at the forecast for the trail area, not only the nearest city. If the route gains elevation, check conditions higher up too. Temperatures often change with elevation, and wind can feel stronger on ridges and summits.
Pay attention to more than the high temperature. Look at:
Chance and timing of storms
Wind speed and gusts
Overnight lows if there is any chance of delay
Heat index or cold wind chill
Snow, ice, or recent rain
Air quality or wildfire smoke
Sunrise and sunset
Flood risk in canyons or low areas
Ignoring a bad forecast is different from accepting normal outdoor uncertainty. Hiking in light rain on a familiar, low-risk trail may be reasonable with the right gear. Hiking toward an exposed summit during a thunderstorm forecast is a different choice.
Have a weather line you will not cross. That line might include lightning risk, extreme heat, high winds, icy trail conditions, or poor visibility. Decide before you feel attached to the plan. Turning around is much harder when you have already invested time and effort.
Pack layers for the weather you might get, not only the weather you hope for. A lightweight rain shell, warm layer, hat, and gloves can matter even on mild days in higher terrain. In hot environments, sun protection can be just as important. A wide-brim hat, sunglasses, sunscreen, and breathable clothing can help reduce heat stress.
If conditions change mid-hike, respond early. Put on rain gear before you are soaked. Add a warm layer before you are shivering. Turn around before the storm is overhead. Take shade breaks before heat exhaustion becomes a concern.

A simple pre-hike check can prevent most problems
The best way to avoid these five mistakes is to create a repeatable routine. It should be simple enough that you actually use it before every hike, not only big trips.
Try this quick check before leaving home:
Check | What to confirm |
Water | Bring enough for the route, heat, and delays. Add electrolytes for harder or hotter hikes. |
Footwear | Wear trail-appropriate shoes and moisture-wicking socks. Pack blister care. |
Navigation | Download offline maps and carry a backup tool. Know the main route before starting. |
Timing | Start early, know sunset, and set a turnaround time. Pack a headlamp. |
Weather | Check the trail-area forecast and pack for likely changes. Be willing to change plans. |
This routine does not remove every risk. Outdoor travel always involves judgment. It does reduce the problems that catch hikers off guard again and again.
A safe hike is not the one with the most expensive gear or the most complicated plan. It is the one where the basics are handled well. Carry enough water and electrolytes. Wear footwear that fits the trail. Bring navigation you can trust if your phone fails. Start with daylight to spare. Respect the forecast.
Do those five things, and you give yourself more room to enjoy the trail, notice the view, and come home ready for the next one.